Flower Potpourri — A Summer Smelling Activity for Children
Published on: July 28, 2010
Lessons for flowers and fizzy floats, fruit and math games
Summer Potpourri
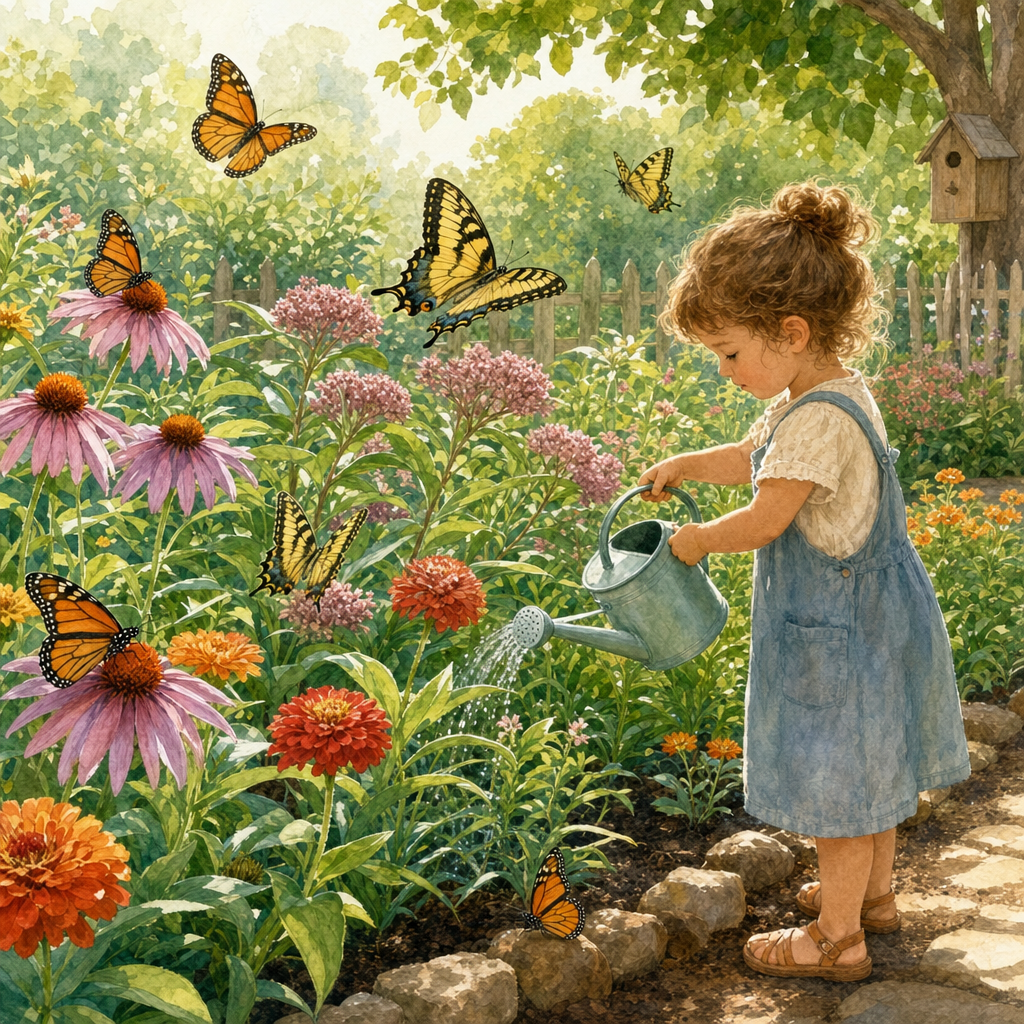
Summer is the wonderful smells of
flowers and herbs. This is a great time to grab a
basket and collect wonderful mints, lemon and orange
leaves, verbena, geranium, sage, sweet woodruff, magnolia,
jasmine, honeysuckle, violets, sweet pea, roses, herbs
and lavender. Pick anything that smells good. This is
a great olfactory experience for young children.
1.On a sunny day after the morning dew melts off,
pick flowers that are freshly bloomed. These flowers
have the most fragrant oils.Pick fragrant leaves and
herbs as well.
2. Have your child gently pull off the flower petals
and leaves from the stems. Spread out on paper towels
or in a large wicker basket. Let your child stir
gently the mixture every other day until dry.
Your child will be able to observe the gradual drying
process In the beginning the fresh flowers and leaves
are soft and supple by the end of the drying process
the petals and leaves will be as dry as corn flakes
and will have changed colors. Note the difference with
your child.
3. Mix carefully together the dried potpourri. You can
add spices from the kitchen spice rack, such as
cinnamon, lemon pepper, cloves, allspice, rosemary,
and sage.
4. Keep the potpourri in a sealed jar. Have your child
smell the mixture at least every week and tell you if
the smell has changed. At first the potpourri will
smell fresher and will mellow over 3 to 5 weeks.
5. You can use different types of potpourri for the
smelling bottle exercise.
6. Use gauze and ribbon to make potpourri balls.
Dried Summer Flowers
Here is an easy recipe to dry flowers.
You will need cornmeal.
Flowers
An old cardboard box
Drying Mixture:
1.Combine together 5 cups of cornmeal. Your child can
help you measure.
2.Spread the drying mixture (about ½ inch thick) on
the bottom of the box.
3.Sprinkle the mixture on the flower petals. Lay the
flower in the box and cover with the drying mixture.
Continue until all the flowers are covered up.
4.Keep the box open to let the air circulate and the
moisture evaporate from the flowers. The smaller and
thinner the flowers, the faster they will dry.
5. Brush off excess drying mixture with a cotton swab
or a small paintbrush.
6.Let your child help arrange the flowers in a vase.
After a nature walk you may want to press the flowers
you and your child have collected.
Here is a simple way to press your wild flowers and
violets.
You’ll need:
Flowers
Paper towels
Waxed paper
A large book
School Glue
Toothpicks
1.Fold a paper towel in half. On one side place your
flower, single layer. Fold over the top part of the
paper towel. Continue with your other flowers.
Between each layer of paper towel, fold over a piece
of waxed paper. Put the papers between the pages of a
heavy book, such as the phone book. Stack heavier
books on your book with the pressed flowers and leave
for 2 to 3 weeks.
Using a piece of cardboard, have your child glue on a
paper doily. Next, on the doily glue and
arrange the pressed flowers. You can glue the petals
by dabbing glue on a toothpick.
Recycling hint: Use the cardboard from an old picture
frame. After the glue dries, frame your child’s new
creation and hang it up in his or her room. They’ll
love it.
Family activity: Get a book at the library or a
bookstore and look for wildflowers in your area. You
can take pictures of the flowers and identify them.
Fun Food
Fizzy floats-Let your child help with this.
You’ll need:
Club Soda or seltzer, chilled
Sorbet or flavored ice cream (orange and lemon
sherbet are great for this)
Ice cream scoop
Large glass
Straw
Long spoon
Have your child slowly fill the glass with soda to ¼
full and stir the soda with long spoon to take out
most of the fizz.
Let your child scoop out the softened ( let it sit at
room temperature for 10 minutes) ice cream from
container. You can heat the scoop or spoon in warm
water to make the job easier.
Put the ice cream in glass. (Put in at least on large
scoop)
Fill the glass with soda until ¾ full.
Enjoy!
What is fruit?
Fruit is the flower blossom of a plant
that has become seed that has sweet (sometimes) sour
food next to it. Seeds sometimes are called pits,
(like in a peach or a plum) or just a seed (like an
apple or a pear). You can eat some seeds, like a
strawberry (the seeds are on the outside of the skin.)
You can eat blueberry seeds and raspberry seeds too.
Next time you eat a piece of fruit look for the seeds.
Are the seeds big or small? Can you eat the seeds or
not?
Fruit Dip
You’ll need
Cut up fresh fruit (banana, apple or pears) or whole
strawberries( veggies, like celery work too)
Peanut butter
Honey (non-raw for children under 2)
A container
Spoon
In a bowl measure about ¼ cup peanut butter with about
1-tablespoon honey.
Hold the spoon firmly in one hand and with the other
hand, hold the bowl and slowly stir in circular
movements. Let your child do this next. You can take
turns stirring. Make the mixture thin enough to dip
fruit pieces.
You can even have your toddler help peel and cut a
banana for this dip.
You’ll need:
A banana
A plastic or butter knife with serrated edge
Method:
Sit down, facing your child to demonstrate this task.
Place the banana on a cutting board. Cut (with a safe
knife) a small notch at the top of the stem. Hold the
banana gently in the palm of your hand.
Put the curved part of banana towards you. Pull down
the first peel. When the first side is finished, turn
the banana (with both hands), hold the bottom and peel
another section, continue until peeled.
Place the peeled banana on a cutting board and cut
with the plastic knife chunks of banana.
Let your child peel a banana.
After you child has cut the banana look for the seeds.
Ask can you eat these seeds? (Yes)
Cut other fruit. An older child can cut pears and
apples. An apple cutter is a fun too to use on pears
and apples. Do you have to remove the seeds of an
apple or pear? Are they edible?
Dip your fruit pieces in the peanut butter honey dip.
Fruity song (sing or rap)
“I like to eat eat eat
Apples and bananas
I like to eat eat eat
Apples and bananas
Then add each letter of the alphabet
Such as (a)
A like to aat aat aat
Apples and ananas
A like to aat aat aat
Apples and ananas
B like bat bat bat
Bpples and bananas
B like bat bat bat
Bpples and bananas
This song gets really silly and fun.
Egg Number Game
Age 4 and up
Purpose: Relate number symbols to appropriate quantity
You’ll need:
An egg carton
12 plastic eggs or small containers with lids (same
color) that open in the middle
1 large egg or container
Counters
Marker pen
Method:
1. Number each of the 12 eggs from 1 to 12. (For
extra help you can put the number of dots on the other
side of the egg, for example the 12 egg has 12 dots on
the egg, etc.)
2. Place the 1, 2, and 3 eggs in the egg carton ( Add
more if this is too easy).
3. Place the exact amount of counters in the large egg
or container. For example, if you are using 1, 2, and
3 eggs have 6 counters in the large egg.
4. Have your child place the correct number of
counters in each egg.
5. Error of control-the last egg will not have the
right amount of counters.
6. Add more numbers sequentially. You can mix the egg
numbers up when your child has a good grasp of the
concept.
Advanced lesson
Addition: After your child has done all the eggs and
counters, leave the counters in the eggs and place in
the egg carton. Use 2 eggs for adding. For example, 2
egg +3 egg =?
Your child can open the 2 egg and 3 egg and count 5.
Free Printable
Pair this activity with our printable nature cards: Wildflower Cards (PDF).