Simple and Fun Painting Ideas
Published on: June 30, 2007
Simple and Fun Painting Ideas
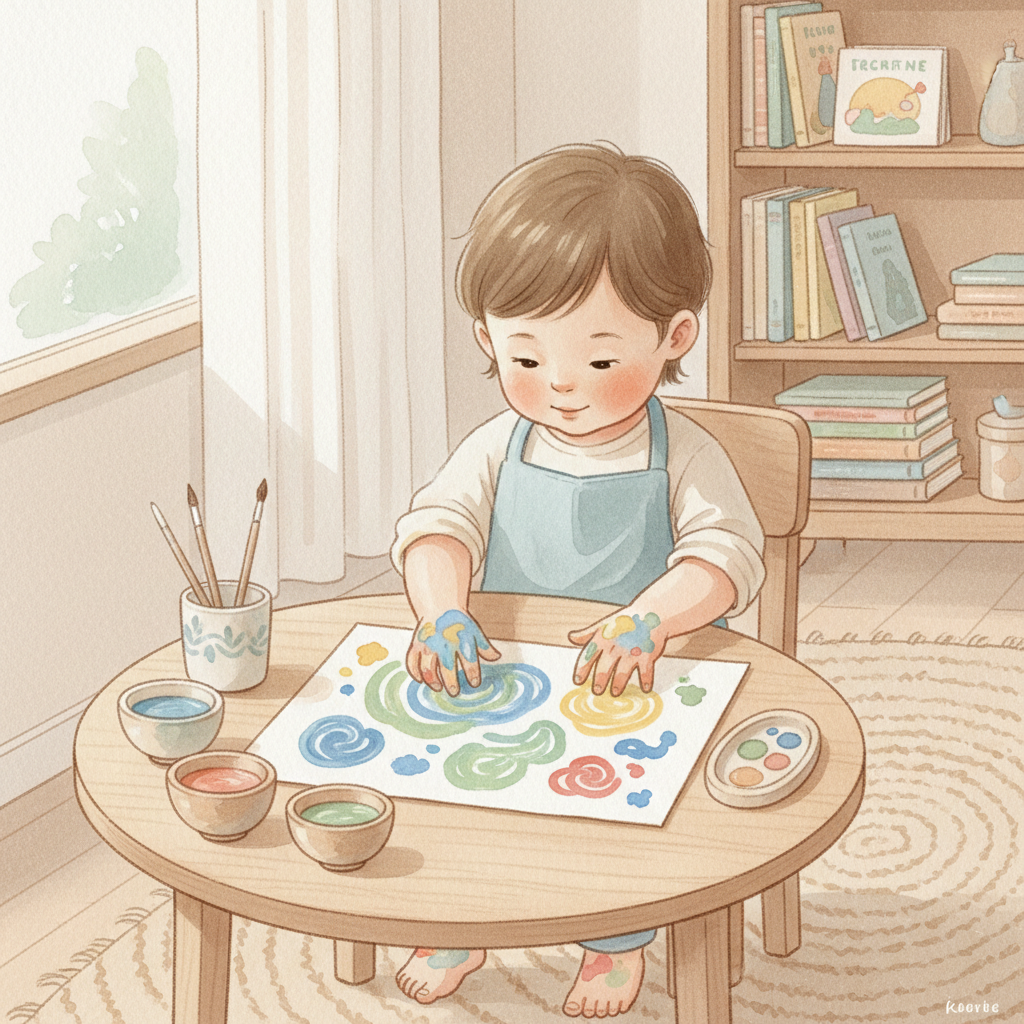
Painting is one of the most joyful and developmentally rich activities you can share with your child. In the Montessori approach, art isn't about creating a perfect product — it's about the process. When children mix their own paints, experiment with unusual tools, and explore color and texture, they're building fine motor skills, concentration, sensory awareness, and creative confidence. These simple painting ideas use everyday household materials, making them accessible and budget-friendly. So lay down some newspaper, roll up those sleeves, and let the creativity flow!
Homemade Paint Recipes
Making paint from scratch is a wonderful Montessori practical life activity. Children practice measuring, pouring, and mixing — all essential skills that build independence and mathematical thinking. Each of these recipes offers a different sensory experience, so try them all!
Salt or Sugar Paint
This textured paint is a sensory delight. The grainy quality encourages children to explore how different materials change the way paint feels and looks on paper.
In a bowl, mix together:
- 2 teaspoons of salt or sugar
- 1 teaspoon of liquid starch
- A few drops of tempera paint
Have fun painting! To make the texture rougher, add fine or coarse sand.
Tip: White sand paint looks beautiful as snow in a winter painting. Brown salt paint works wonderfully for a desert landscape. This is a great opportunity to connect art with geography or seasonal studies — a hallmark of the Montessori curriculum.
Shiny Paint
This glossy paint gives artwork a wet, luminous finish that children find captivating.
In a bowl, mix together:
- ¼ cup white liquid glue
- ¼ cup tempera paint
This paint gives a wet, shiny look that is perfect for depicting water, rain, or ice in a picture. It can be used on both objects and paper. Keep it tightly covered when not in use.
Sugar Chalk Stick Paint
This technique transforms ordinary chalk into vibrant, long-lasting color on dark paper. Children love the magic of watching chalk soften and become paint-like.
- Dissolve 2 teaspoons of sugar in ¼ cup of water.
- Soak various colors of chalk sticks until softened (about 10 minutes or more).
- Use the softened chalk like paint sticks on dark, dull construction paper.
The sugar acts as a natural adhesive, helping the chalk stay on the paper. The vivid colors on dark paper create a striking contrast that children find very satisfying.
Finger Paint
Finger painting is always a hit with children — and for good reason. It's one of the most tactile, sensory-rich art experiences you can offer. Children can make handprints, practice letters and numbers, create shapes, or simply enjoy the freedom of creative expression. In Montessori, finger painting supports sensorial development and allows even very young children to engage in self-directed art.
Materials:
- 1 cup of wheat flour
- ½ cup warm water
- 1 tablespoon of one of the following: body lotion, petroleum jelly, liquid starch, or liquid soap (or any other syrupy liquid you have)
- Tempera paint or food coloring
- A disposable shallow container
- Butcher paper or any slick surface, such as shelf paper, recycled clean meat and produce trays, a plastic bag taped over cardboard, or any shiny paper
- Disposable spoons or stir sticks
Combine the flour with warm water and mix thoroughly. Add paint and lotion. You can prepare several different containers with various colors, letting your child choose freely — an important element of Montessori choice-making.
If you are painting on a plastic surface, you can save your painting by blotting a print of the finger paint with construction paper or newsprint.
Variation: Use other mediums for finger painting, such as chocolate pudding, whipped cream, or shaving cream. These are especially fun for toddlers who are still in the stage of exploring everything with their hands and mouths (stick with pudding for the littlest artists!).
Creative Painting Techniques
Once you have your paints ready, it's time to explore different techniques. Each of these methods encourages children to experiment, problem-solve, and discover cause and effect — core principles in the Montessori philosophy.
Straw Painting
On a piece of paper, place a few dollops of paint. Have your child blow gently through a straw to move the paint around into an abstract design.
This activity is wonderful for developing oral motor skills and breath control, and it teaches children that they can create art in unexpected ways. The results are always unique, which reinforces the Montessori idea that there is no "wrong" way to create.
Ink Blot Painting
This classic technique produces beautiful symmetrical designs that seem almost magical when the paper is unfolded.
Materials:
- White or light-colored paper
- Paints — tempera, food coloring, or watercolors
- Paintbrush or plastic spoon
- Newspaper to protect your work surface
Instructions:
- Cover your work area with several layers of newspaper.
- Fold your paper in half, then open it back up.
- Place various dabs of paint along the crease of the paper.
- Fold the paper closed again.
- Starting from the center crease, use your hands or fingers to push and smooth the paper from the center outward to the edges. You can even use a small rolling pin or a crayon to roll across the paper.
- When the paint has been spread, open the paper to reveal the surprise design you've created!
Children love the element of surprise in this activity. It's also a natural way to introduce concepts of symmetry and mirror images.
Print Painting
Print painting invites children to see the world differently — ordinary objects become stamps and art tools. This aligns beautifully with the Montessori emphasis on using real, everyday materials in creative ways.
Materials:
- Tempera or thick paint in various colors
- Thick paper
- Shallow containers or recycled plastic trays
Printing materials to try:
- Empty spools
- Clothespins
- Styrofoam peanuts
- Plastic berry baskets
- An apple cut in half
- Bottom or lid of a bottle
- Pipe cleaners shaped into a design
- Hands, fingertips, and feet
- A potato carved with a letter or design
Pour paint into a shallow bowl. Dip a printing material into the paint and press it onto paper to make cool designs. You can use this technique to make greeting cards, wrapping paper, or unique one-of-a-kind artwork. Encourage your child to explore what patterns different objects make — this kind of experimentation builds scientific thinking.
Weird and Wonderful Paint Brushes
You don't always need a traditional paintbrush to paint! In fact, Montessori encourages children to explore a wide variety of tools. Using unconventional items builds creativity, problem-solving skills, and fine motor coordination. Here are some fun alternatives to try for your next painting session:
- Sponge brushes (usually used for decorating or painting walls)
- Small paint rollers
- Feathers
- String
- Sticks and twigs from nature
- Marbles (place paper and paint in a box, drop in marbles, and tilt!)
- Plastic knife, fork, or spoon
- Jar lids
- Cotton swabs
- Bottle corks
- Aluminum foil formed into various shapes
If you'd like to stock up on affordable brushes for your art area, a mini paint brushes set is a great investment. Having a variety of brush sizes available allows children to choose the right tool for their vision — another way to build independence and decision-making.
Tips for Setting Up a Montessori Art Space
To get the most out of these painting activities, consider setting up a dedicated art area in your home. In Montessori, the environment is the "third teacher." Here are a few practical tips:
- Use child-sized furniture — a small table and chair at your child's height makes art accessible and inviting.
- Keep supplies organized — place paints, brushes, paper, and smocks on low shelves so your child can set up independently.
- Protect surfaces — a plastic tablecloth or layers of newspaper make cleanup easy and reduce stress.
- Provide a drying rack or clothesline — children take pride in hanging up their own artwork to dry.
- Embrace the mess — learning happens through exploration. A smock and a nearby sponge for wiping up spills go a long way.
Let Creativity Lead
The beauty of these painting ideas is that they require very little in the way of expensive supplies, yet they open up a world of creative possibility for your child. Whether your little one is swirling finger paint, blowing through a straw, or stamping with a potato, they are building skills that go far beyond art — concentration, coordination, self-expression, and confidence. Follow your child's lead, resist the urge to direct the outcome, and celebrate the process. That's the Montessori way.
Happy painting!